
Today was one of those days where my crafting endeavors really didn't go as planned....
Since I had been out all morning doing various odd jobs it was around 3pm before I decided that I should 'get my creative on'. Funnily enough it was a project that I had been procrastinating about for the last two weeks that I decided to tackle - printing an image I had created in illustrator onto decal paper and then placing it on a vintage plate.
To start with, the instructions I had for using the decal paper were a little difficult to understand. At least that is what I am telling myself. I know that my ability to process written instructions leaves a lot to be desired so that could have definitely been a contributing factor. Either way, I found it difficult to work out what to do with the two pieces of paper used in creating a decal, but I stumbled along anyway.
After printing the image onto the decal paper, I temporarily 'flipped out' when I realised that I hadn't printed the image in reverse (which is typically what you do when printing onto these types of paper). I calmed down a bit and just decided that I'd do a trial run and stick the decal to a piece of laminating paper, since there was a piece right beside me.
Imagine my surprise when I realised that the image was the right way round and that I hadn't needed to print the image in reverse! Because the decal was still wet, I was able to relocate it from the laminating paper onto the plate I originally wanted to put it on - Hooray..... Success.....but that success was short lived:

You see the instructions called for the use of a rubber squeegee, which I had picked up at the hardware store earlier in the week. I had explained to the guy there exactly what I was doing and he had given me this device, claiming it would do exactly what I wanted it to:

Since I figured there was only one type of rubber squeegee, I paid my $5.40 and went on my way. If I had have turned the device over, I probably would have questioned whether it would REALLY do what I wanted it to do. A 'Handyman Grouter'.... seriously? *sigh*

The job of the 'rubber squeegee' was to push all of the air bubbles out from under the decal to make it nice and smooth. Perhaps if I was going to put my decal on the side of a building the handyman grouter might have done the job, but I wanted my decal on a plate. A dainty little plate:
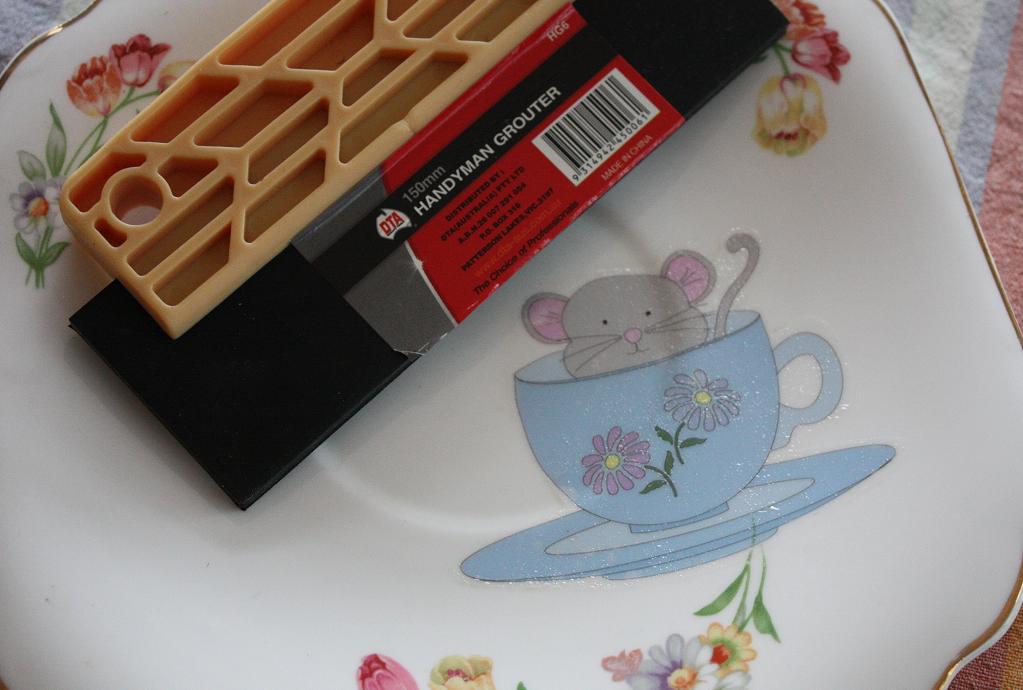
Needless to say, the handman grouter was much too big and inflexible to get the air bubbles out successfully:

Still, I pressed on and baked my plate and sure enough the decal attached itself firmly, albeit lumpy and bumpy!:

I do have plans of putting some writing on the plate at some point but I haven't decided what that writing will say yet. Once done I think this plate is destined to adorn my studio to serve as a reminder that sometimes things don't go as planned!
Anyway, my day improved considerably when I received this lovely 'Thank You' card in the mail from Melissa, who won the scarf giveaway a couple of weeks ago:

How lovely is that!
A tip to get air bubbles out of a decal.
ReplyDeleteUse a credit card or any similar type of plastic card or use a white cotton glove to move and squeeze the air out.
When we were printing our own decals, we supplied a white cotton glove with every purchase to make installation easier.
Maryanne from Little Bird Decor