
Today I’m going to show you how to make a bow-tie for a stuffed toy, because lets face it, what stuffed toy DOESN’T want it’s own fancy bow-tie?

Note: This tutorial makes a bow tie that is 6cms long and 2cms tall. The stuffed toy I am making it for measures 25cms long from the top of his head to his outstretched feet, so you may need to adjust the measurements of the fabric to make it large enough for your stuffed toy. I do not recommend making it any smaller than what I have as it is fiddly enough as it is!
Anyway, lets get started.
What you will need:
- Fabric for the bow tie
- An iron and iron board
- Ruler
- Washable or air erasable fabric marker
- Scissors
Instructions:
First you will need to cut your fabric in the following lengths (shown from top to bottom in the picture below):
Small bow tie piece:4cms x 6cms
Main bow tie piece: 5cms x 14cms
Neck strap: 4cms x 19cms

Fold and press each of the sides of each piece of fabric in by 0.5cms, like so:

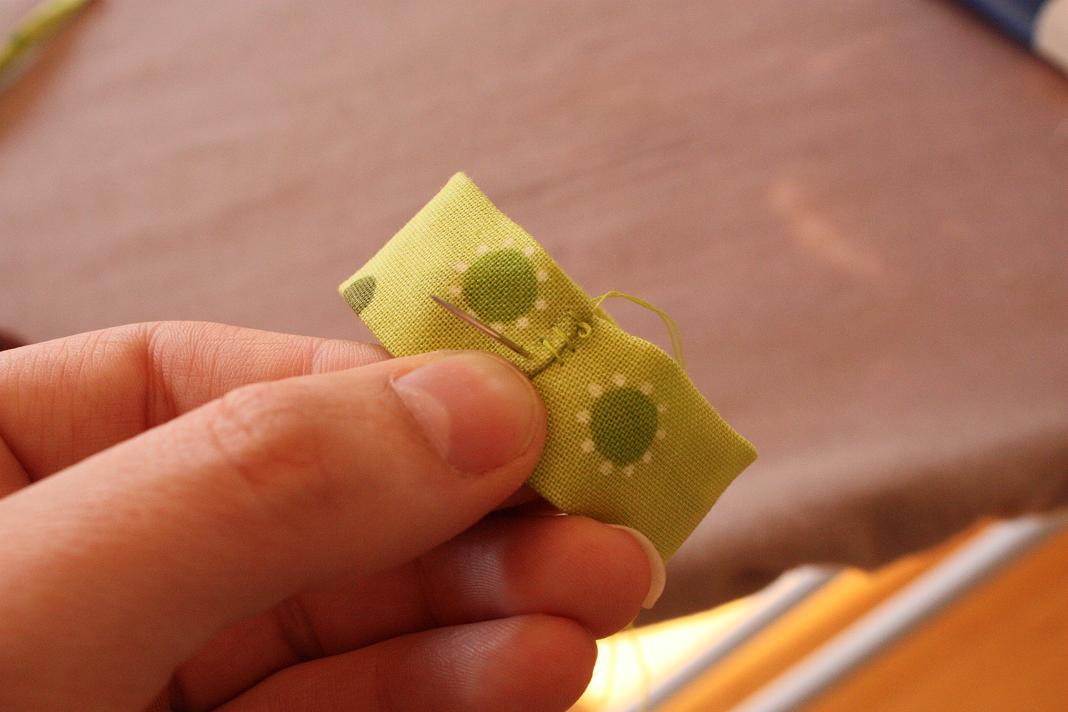
Next, take the small bow tie piece and the main bow tie piece and hand stitch the long ends of each piece together, like so. Once done, put these pieces aside:

Then take the neck strap, fold in half and press:

Before hand stitching the long sides together:

Take the main box tie piece and sew the short ends together, so that you end up with a circle of fabric.
Next, wrap the small bow tie piece around the middle of the main bow tie piece and stitch the short ends together, like so:

Find the centre of the neck strap and sew to the back of the main bow tie piece (the back is where the seam of the short ends of the small bow tie piece meet):

You should end up with something that looks like this:

Finally, wrap the neck strap around your stuffed toy and sew securely by hand:

Oooh doesn't he look dapper now!
No comments:
Post a Comment
Thank you for taking the time to leave a comment. It really means the world to me! Enjoy your day xx